Today we will work on a fun project, I was trying to create a console only chat software with image transfer. I will demonstrate an image viewer for console using ANSI escape sequences.
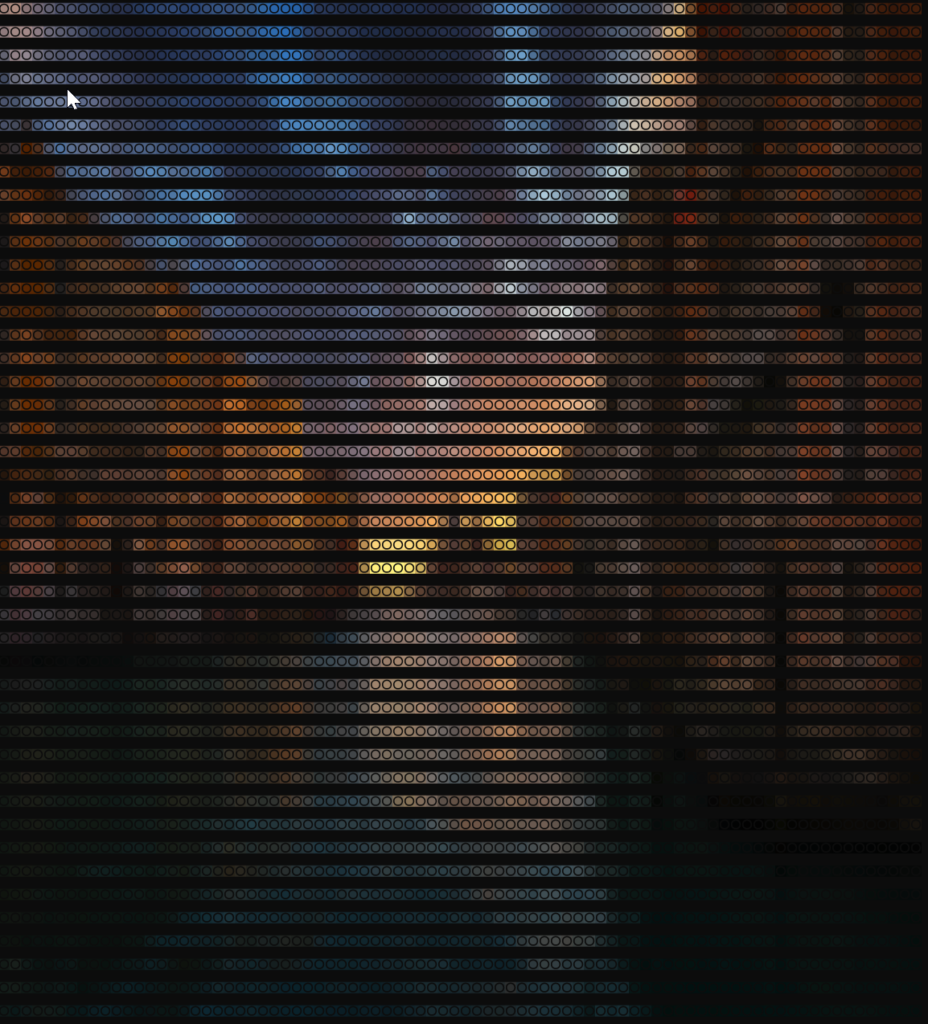
The image on the side is an example of how we can render images on console. Of course it doesn’t have pixel perfection, but it is character precise :).
Let’s discuss ANSI escape sequences
ANSI escape sequences are a standard that can be used to control the cursor position, foreground and background colors, cursor type, font styling etc. Most of these commands start with an ANSI ESCape character and are parsed by the terminal as display commands and act accordingly. Since this blog is more about displaying images, we will restrict ourselves to just printing background and foreground colors to the screen.
Initially we were only able to print 8 named colors. However, at a later time, 256 colors was introduced. Now DOS supports 24-bit color allowing us to draw nice images on console.
We use the following commands to select foreground and background colors.
ESC[38;2;⟨r⟩;⟨g⟩;⟨b⟩ m     # Select RGB foreground color
ESC[48;2;⟨r⟩;⟨g⟩;⟨b⟩ m     # Select RGB background color
Currently DOS, XTerm, Konsole and iTerm all supports the 24-bit color options.
Image Processing
Utility Functions
We will first start with creating the image viewer. For that, we will create a python class and add some utility functions to it. Let’s start with functions to clear the screen and move cursor to the beginning of page.
'''
  Clear screen
'''
def clear_screen(self):
    return '\x1bc'

'''
  Move cursor to home
'''
def home_cursor(self):
    return '\x1b[H'
We will declare one more utility function to get the size of the screen. We will use this to size our image properly.
def get_term_size(self):
    return os.get_terminal_size()
Now with those out of the way, let’s concentrate on the foreground color draw routines. See the following code for implementation.
'''
    Switch to default colors
'''
def get_dflt_clr(self):
    return '\x1b[0m'

'''
    Switch only fg color
'''
def get_rgb_clr(self, txt, fg):
    rf, gf, bf = fg
    return '\x1b[38;2;' + str(rf) +';' + str(gf) + ';' + str(bf) + 'm' + txt + '\x1b[0m'
Let’s see the two methods above. We use the first one to start default color again. Method get_rgb_clr is doing the key color setting. It sets the foreground color and writes the text sent.
Draw each pixel for Image
To process images, we are using the PIL library. If using pip, you can download it by installing pillow. We take the following steps to print the image:
- If image is larger, reduce size to fit screen
- Read pixels from image
- For each pixel, draw them on console
def print_image_buffer(self, img):
    sz = self.get_term_size()
    org_w, org_h = img.size
    if (org_h > sz.lines or org_w > sz.columns):
        img.thumbnail((sz.columns, sz.lines))
        w, h = img.size
        pixels = img.getdata()
        for idx, px in enumerate(pixels):
            (r, g, b) = px[0], px[1], px[2]
            if idx % w == 0:
                print("")
                print( self.get_rgb_clr("\u25D9", (r, g, b) ), end="")
        print(self.get_dflt_clr())

def print_image(self, img_file):
    with Image.open(img_file) as img:
        self.print_image_buffer(img)
Now we have everything to draw an image on console. Let’s see some samples.
This is a photo of a boat during sunset. I took this photo in Florida.
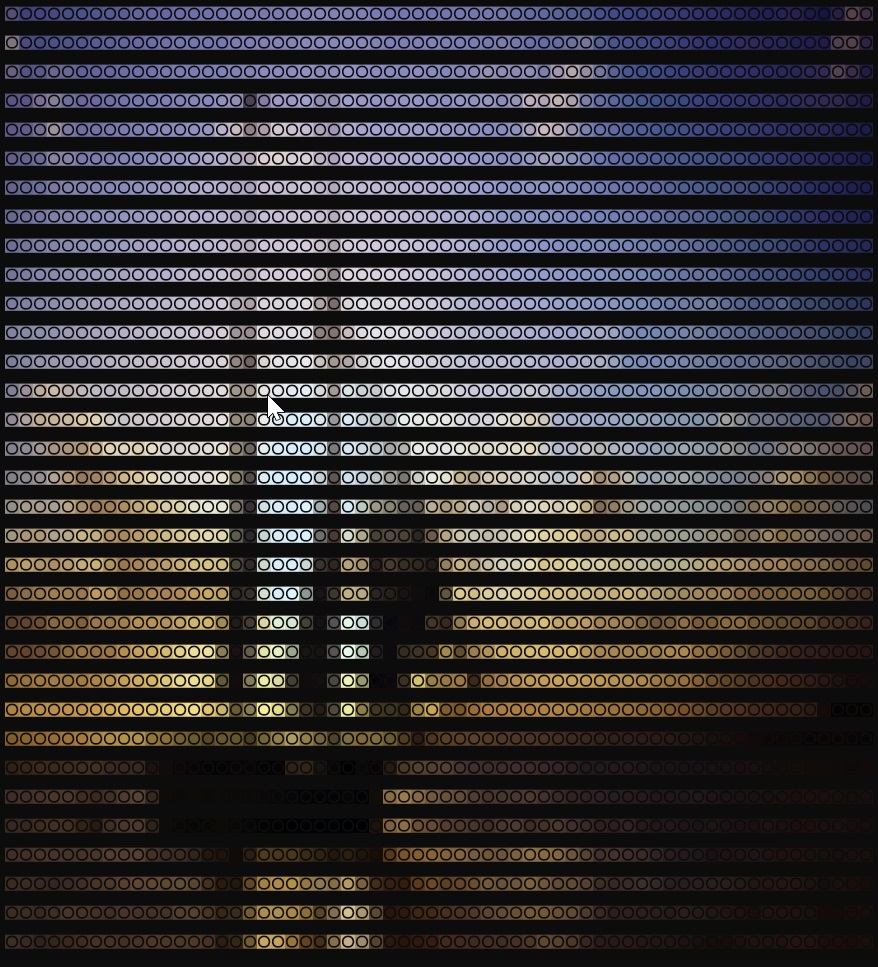
I believe I also took this photo in Florida. Probably Universal in Orlando.
Video Processing
For video processing, I have used moviepy library. Since we can now draw images, we can very easily draw videos. It just means we keep on showing a new frame. See below for a sample.
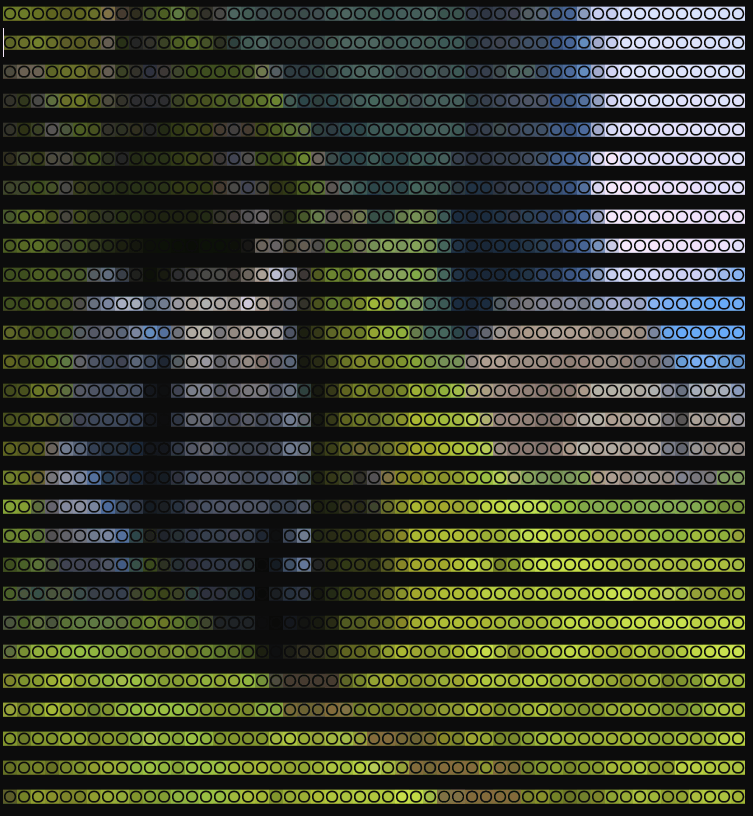
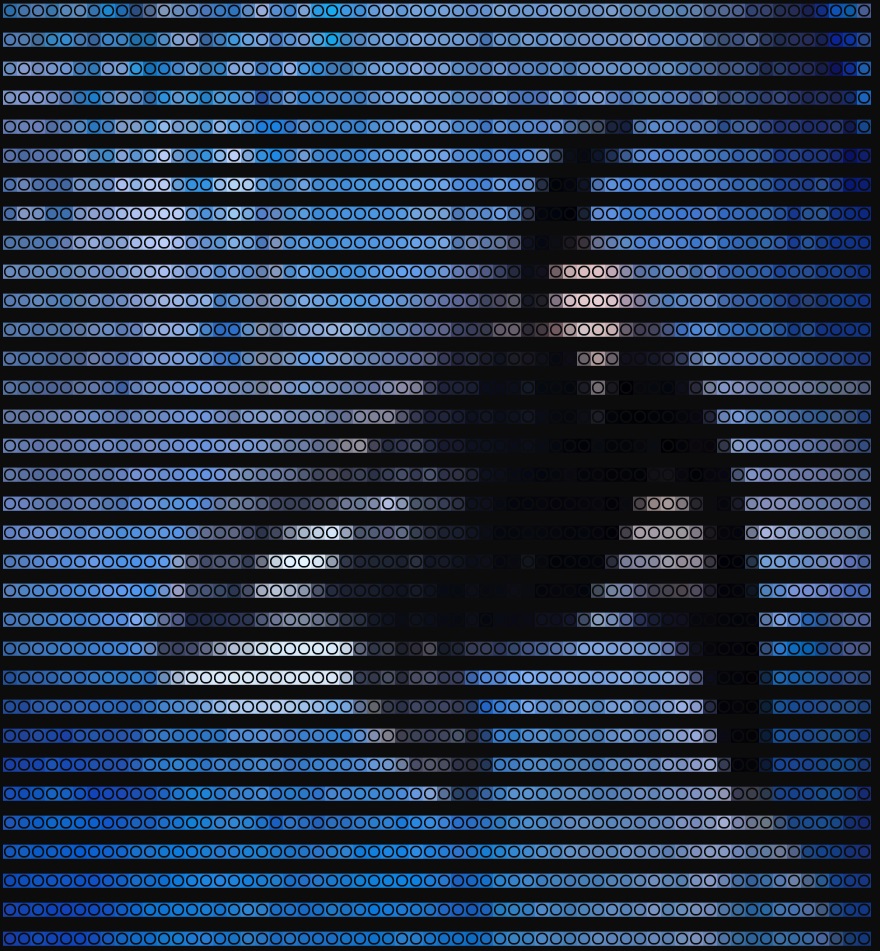
This is a very familiar open-source video. I downloaded and converted part of it for demo purposes. Those who have seen this video, can definitely identify the features.
def play_video(self, file_name):
    ic = ImageConsole()
    with VideoFileClip(file_name) as clip:
        rate  = clip.fps
        frames = clip.iter_frames()
        for aframe in frames:
            if self.stop_now:
                break

            img = Image.fromarray(aframe)
            ic.print_image_buffer(img)
            print(ic.home_cursor())
            time.sleep(1/rate)
    print(ic.clear_screen())
Here ImageConsole is the class we built in previous section. So, we extract individual frame from the movie. Next we print the image on screen. We wait for a specific time based on FPS for the movie. We repeat the same process till all frames are complete.
So the code for video is not much. It just reuses the same code that we built for images.
Wrap
That was just a small fun project. I don’t think there is too much utility for this project. But I hope you had fun reading through it. Ciao for now!